
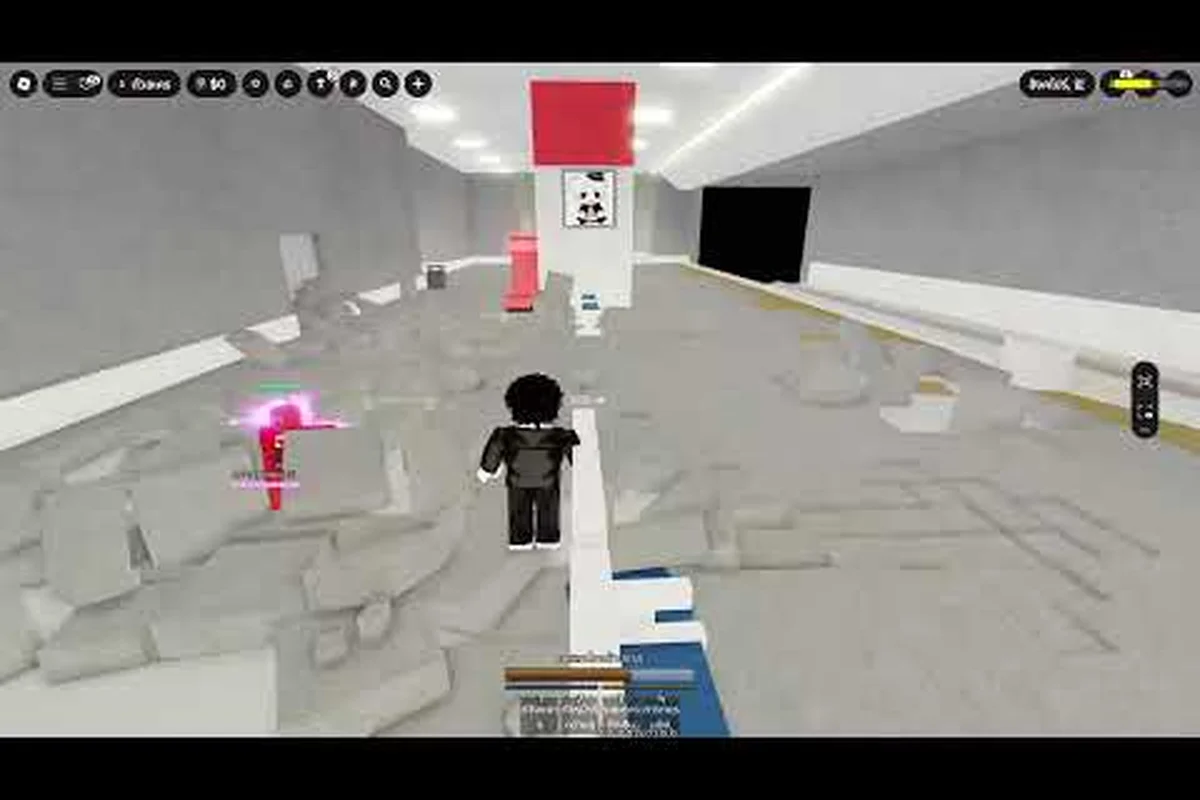
Every Grow a Chicken Fighter boss sits on a specific tower floor, and knowing what waits above is the difference between a smooth climb and a wasted hour of grinding. The tower is the game's core progression loop: you hatch eggs, send chickens to the PIT for money, then push upward through increasingly brutal boss fights that gate your access to better eggs and bigger multipliers. This complete floor list covers every boss encounter currently in the game, their attack patterns, the rewards they drop, and the fighters you should bring to each fight. By the end, you will know exactly what to expect on every tower level and how to prepare your roster so no boss catches you off guard. Get ready to plan your entire grow a chicken fighter tower progression before you even step onto floor one.
Why the Tower Defines Your Grow a Chicken Fighter All Bosses Strategy
The tower is not optional content in Grow a Chicken Fighter — it is the main artery of your entire run. Every egg tier, every fusion recipe, and every rebirth multiplier connects back to how far you can push your chickens up the tower. When you understand the full grow a chicken fighter all bosses lineup, you stop wasting money on the wrong fighters and start building a roster that actually clears floors efficiently.
The tower gates your egg quality. Higher floors unlock better eggs, which hatch stronger chickens, which then push you further up the tower. This feedback loop means your grow a chicken fighter tower level directly determines your income potential from the PIT. Players who stall on a boss lose money per minute compared to those who clear it quickly.
Boss fights are the only way to earn certain rewards. While the PIT gives you steady cash, boss drops include exclusive fusion materials, rare chicken variants, and permanent stat boosts that you cannot get anywhere else. According to community reports, the later bosses drop items that effectively double your farming speed when combined with rebirth bonuses.
Your grow a chicken fighter tower strategy changes at every checkpoint. The first ten floors are about raw damage, but after floor twenty you need to think about health pools, special abilities, and elemental matchups. A fighter that dominates floor five becomes useless by floor fifteen, which is why you need a long-term plan rather than reacting to each boss as you meet it.
The table below summarizes the tower structure so you can see the full scope of what you are climbing, including each floor’s stat gate, the boss that guards it and the reward you bank for clearing it:
| Floor Range | Boss Count | Unlock Reward | Recommended Fighter Power |
|---|---|---|---|
| 1-10 | 3 | Basic Egg Tier 2 | 10-50 |
| 11-20 | 3 | Rare Egg Tier 3 | 60-150 |
| 21-30 | 3 | Epic Egg Tier 4 | 160-350 |
| 31-40 | 3 | Legendary Egg Tier 5 | 360-800 |
| 41-50 | 3 | Mythic Egg Tier 6 | 800+ |
This structure means you face 15 total boss encounters across 50 floors, with each boss marking the end of a floor group rather than appearing on every single floor. The spacing gives you time to grind between fights, but the difficulty curve is steep enough that you cannot skip the preparation phase.
Complete Boss Roster and Their Attack Patterns
Every boss in Grow a Chicken Fighter has a distinct moveset, and understanding these patterns is the foundation of any solid grow a chicken fighter tower strategy. The game does not tell you what each boss does before you fight it, so this breakdown saves you from learning through expensive defeats.
Early Tower Bosses (Floors 1-10)
Cluck Norris (Floor 3) is the first real test of your roster. He uses a simple three-hit combo that deals moderate damage, but his real threat is the knockback effect that pushes your chickens out of attack range. Bring fighters with high attack speed to interrupt his wind-up animation, because slow heavy hitters will miss most of their swings.
The Beak (Floor 6) introduces the first special mechanic: a lifesteal aura that heals him for a percentage of damage dealt. This boss punishes drawn-out fights, so you need burst damage rather than sustained DPS. Save your special abilities for when his aura is active, and consider bringing a fighter with a damage-over-time effect to counter his healing.
General Feathers (Floor 9) is the first wall that stops most new players. He alternates between a defensive stance that reduces incoming damage by 70 percent and a charge attack that targets your backline. The key is timing: attack during his stance breaks, then reposition your squishy fighters before the charge lands.
| Boss Name | Floor | Key Mechanic | Counter Strategy |
|---|---|---|---|
| Cluck Norris | 3 | Knockback combo | Fast attackers, interrupt wind-up |
| The Beak | 6 | Lifesteal aura | Burst damage, save abilities |
| General Feathers | 9 | Defensive stance + charge | Time attacks, reposition backline |
These early bosses teach you the core mechanics you will need for the rest of the tower, and mastering them makes your grow a chicken fighter tower progression much smoother. Players who rush past this section without learning the patterns often hit a hard wall at floor fifteen.
Mid Tower Bosses (Floors 11-30)
Eggsecutor (Floor 13) brings the first summon mechanic, spawning small minion chickens that buff his attack speed. You must clear the adds quickly or the fight spirals out of control. Area-of-effect fighters shine here, and this is the first boss where you should consider fusing two chickens to create a mutated monster with splash damage.
Sir Clucks-a-Lot (Floor 18) has a reflect shield that bounces a percentage of damage back at your attackers. This boss punishes auto-battle players who do not watch the fight. The counter is to use fighters with damage-over-time effects, since reflected damage only applies to direct hits, or to manually pause attacks when the shield is active.
The Cockatrice (Floor 23) is where many players first encounter the petrification mechanic. His gaze attack freezes your chickens in place for several seconds, leaving them vulnerable to follow-up damage. According to player experiences shared in the community, bringing a fighter with a cleanse ability or high stun resistance is almost mandatory for this fight.
Baron von Beak (Floor 27) combines everything you have learned so far: he summons adds, has a damage shield, and occasionally petrifies your frontline. This boss is a gear check more than a skill check, and if you are struggling here, your grow a chicken fighter tower level is probably too low for your current fighter power. Go back to the PIT, grind more money, and upgrade your eggs before retrying.
| Boss Name | Floor | Key Mechanic | Counter Strategy |
|---|---|---|---|
| Eggsecutor | 13 | Summon minions | AoE damage, clear adds fast |
| Sir Clucks-a-Lot | 18 | Reflect shield | Damage-over-time, manual control |
| The Cockatrice | 23 | Petrification gaze | Cleanse ability, stun resist |
| Baron von Beak | 27 | Summon + shield + petrify | Gear check, upgrade before retry |
Late Tower Bosses and the Grow a Chicken Fighter Tower Not Working Problem
The final stretch of the tower is where the game separates dedicated players from casual ones. These bosses require not just strong fighters but also a deep understanding of the game's mechanics, and this is also where many players encounter the dreaded grow a chicken fighter tower not working issue.
The Great Egg (Floor 33) is the first boss with a phase transition. At 50 percent health, he enters a golden state that doubles his damage and speed while also becoming immune to crowd control. You need to save your strongest abilities for this phase rather than burning them early, because the fight becomes significantly harder once the transition triggers.
Mother Clucker (Floor 38) has the most frustrating mechanic in the game: a healing egg that spawns periodically and restores her health if not destroyed within ten seconds. This boss demands target prioritization, and you cannot rely on auto-targeting because your chickens will focus on Mother Clucker instead of the egg. Manual control is essential here, and this fight is the primary reason many players search for grow a chicken fighter tower tips online.
The Rooster King (Floor 43) is the current final boss of the tower. He has a massive health pool, a multi-hit ultimate attack that can one-shot your entire backline, and a rage mechanic that increases his damage as the fight drags on. Community testing suggests you need at least 800 fighter power to clear him consistently, though skilled players have reported wins with slightly lower stats by abusing his attack cooldowns.
| Boss Name | Floor | Key Mechanic | Counter Strategy |
|---|---|---|---|
| The Great Egg | 33 | Phase transition | Save abilities for phase 2 |
| Mother Clucker | 38 | Healing egg spawn | Manual target, destroy egg fast |
| The Rooster King | 43 | Ultimate + rage | High power, abuse cooldowns |
If you are experiencing the grow a chicken fighter tower not working problem, it usually falls into one of three categories. First, the tower may be locked because you have not reached the required grow a chicken fighter tower level — you must clear the PIT a certain number of times before the tower entrance unlocks. Second, a boss may appear to be bugged when you are actually missing a mechanic, like the healing egg on Mother Clucker or the reflect shield on Sir Clucks-a-Lot. Third, the game may genuinely have a server-side issue, which you can verify by checking the official Roblox game page for maintenance announcements.
Building the Optimal Roster for Every Boss Fight
Your grow a chicken fighter tower strategy is only as good as the chickens you bring, and you cannot use the same six fighters for all fifteen bosses. The game encourages you to build a diverse roster that covers different damage types, survivability profiles, and special abilities. Here is how to structure your team for each stage of the tower.
According to How to Beat Every Boss in Grow a Chicken Fighter – Full Guide, the boss AI’s attack patterns are tied directly to the chicken’s current weight and upgrade tier, meaning that prioritizing stamina upgrades over raw damage shifts the timing of every dodge window and combo opening.
Early Game Roster (Floors 1-10)
For the first ten floors, you want three damage dealers, two tanks, and one support. The early bosses do not have complex mechanics, so raw stats matter more than abilities. Focus on fighters with high attack speed and critical chance, because they clear trash mobs faster and build your ultimate meter quicker.
Recommended early fighters:
-
Blaze Cluck — fire damage with a burn effect that works well against General Feathers
-
Frost Hen — slows enemy attack speed, useful for kiting Cluck Norris
-
Tanky Todd — high health pool with a taunt ability that protects your backline
Mid Game Roster (Floors 11-30)
Once you reach the mid tower, you need specialized counters rather than generalists. The summon-heavy Eggsecutor fight demands AoE damage, while Sir Clucks-a-Lot requires damage-over-time effects. This is also the point where you should start fusing chickens to create mutated monsters with hybrid abilities.
Key mid-game additions:
-
Fused Dragon-Cluck — combines fire breath with splash damage, excellent for add clear
-
Venom Beak — poison damage that bypasses reflect shields
-
Stone Rooster — high stun resistance for the Cockatrice fight
Late Game Roster (Floors 31-50)
The final stretch requires maximum synergy between your fighters. The Great Egg's phase transition demands burst damage windows, Mother Clucker needs manual target control, and The Rooster King requires sustained DPS with survivability. You should have at least two fused fighters at this point, and your support chicken should have a healing or shielding ability.
Late-game priority list:
-
Maximize critical damage — the Rooster King's rage mechanic means fights get harder over time, so burst windows matter
-
Bring a cleanse support — petrification and stun effects become more common in the late tower
-
Consider a second tank — some late bosses target your backline, and one tank cannot protect everyone
The table below shows the ideal team composition for each tower stage, pairing the recommended chicken rarity with the attack type that wins that floor’s boss fight:
| Tower Stage | Damage Dealers | Tanks | Support | Key Abilities |
|---|---|---|---|---|
| Early (1-10) | 3 | 2 | 1 | Attack speed, crit |
| Mid (11-30) | 3 | 2 | 1 | AoE, DoT, stun resist |
| Late (31-50) | 3 | 2 | 1 | Burst, cleanse, shield |
Advanced Grow a Chicken Fighter Tower Tips for Faster Progression
Once you understand the boss lineup and have a solid roster, the next step is optimizing your grow a chicken fighter tower progression speed. These advanced tips come from experienced players who have cleared the tower multiple times, and they focus on efficiency rather than just clearing floors.
Rebirth timing matters more than you think. Many players rebirth as soon as they can, but the best strategy is to wait until you have cleared at least floor 30. The rebirth multiplier scales with your highest tower floor, so a later rebirth gives you a significantly larger permanent boost. Check our permanent boost rebirth guide for the exact numbers and optimal timing.
Your PIT income directly feeds your tower progress. The money you earn from PIT battles funds your egg upgrades, which determine your fighter quality. If you are stuck on a boss, the fastest solution is usually to grind more PIT battles rather than retrying the same fight with the same weak roster. Our PIT money-making guide breaks down the most efficient farming methods.
Fusion is not optional for late tower content. The stat boost from fusing two chickens into a mutated monster is substantial, and the hybrid abilities often provide exactly the counter you need for a specific boss. The fusion requirements guide explains which combinations work best for tower content.
Use active codes to accelerate your early progression. The game regularly releases codes that grant free eggs, money, and boosts. Redeeming these before you start your tower climb gives you a significant head start, and our codes guide lists all currently working codes as of August 2026.
Learn to manually control your fighters during boss fights. Auto-battle works fine for regular floors, but every boss from floor 18 onward has a mechanic that punishes passive play. Whether it is the reflect shield on Sir Clucks-a-Lot or the healing egg on Mother Clucker, you need to actively manage your fighters' targets and ability timing. This is the single biggest skill difference between players who clear the tower quickly and those who get stuck for days.
Track your power level relative to the floor you are attempting. As a rough guideline, you want your total fighter power to be at least double the recommended power for the floor group. If you are at 200 power attempting floor 25, you are going to struggle regardless of your strategy. Grind more, upgrade your eggs, and come back stronger.
The full tower climb takes most players 15 to 25 hours of active play from a fresh save, according to community reports. That time drops significantly on subsequent runs because your rebirth bonuses carry over, which is why planning your grow a chicken fighter tower strategy around rebirth timing is so important.
Frequently Asked Questions
How do I unlock the tower in Grow a Chicken Fighter?
The tower unlocks after you clear your first full PIT rotation—win 15 PIT battles and reach egg tier 3 or higher. A glowing arrow then appears near the coop’s east fence. If it’s still locked, exit to the main menu, rejoin, and verify your server isn’t lagging.
What is the best fighter for the Rooster King?
The Rooster King demands high burst damage and survivability, so a fused Dragon-Cluck with critical damage enhancements is the top choice according to player testing. Pair it with a Stone Rooster tank and a healing support to survive his ultimate attack. You also want to save your special abilities for his rage phase.
Why is my tower not working or showing a black screen?
The black screen in grow a chicken fighter all bosses usually means you haven’t unlocked the tower yet—beat the first three bosses first. Otherwise, force-close Roblox, update the game, and rejoin. If it still fails, check for server maintenance and report the bug in-game.
How many bosses are in the tower?
There are 15 bosses spread across 50 floors, with a boss appearing every three to five floors. The early tower has three bosses, the mid tower has four, and the late tower has three, with the Rooster King serving as the current final encounter. Future updates may add more floors and bosses.
Should I rebirth before or after clearing the tower?
Wait until you clear floor 30 before your first rebirth—the permanent multiplier scales with your highest floor, so rebirthing early wastes potential. After that, rebirth immediately post-tower to stack boosts faster. Each boss you clear raises the payout you keep, so push one extra floor before resetting whenever you can.